Happy (late) Women's Day!
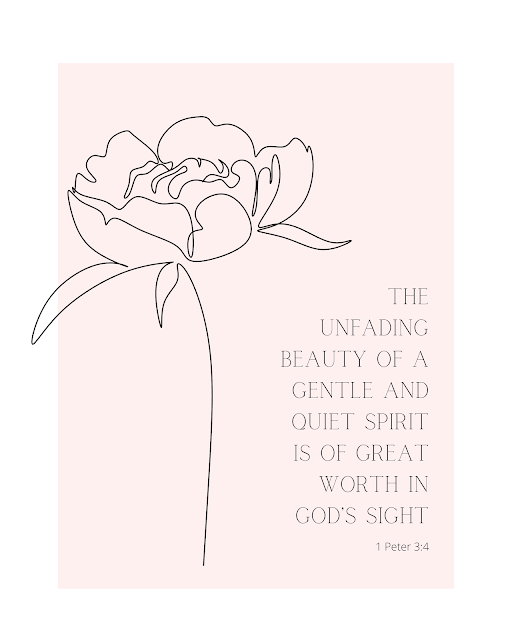
I originally created this for Mother's Day, but I thought I'd share it, since it was Women's Day yesterday. I know this says "wife" and not all women are wives, but it's all I have at the moment. ☺️ It's in the Etsy shop, but feel free to click the first image in this post and drag the full size version onto your desktop for free! 💞 Love you! -Disney